Love gardening? Then you’ll love our brand new Kindle book: 605 Secrets For A Beautiful, Bountiful Organic Garden: Insider Secrets From A Gardening Superstar.
“You reap what you sow,” may be a proverb with profound meaning, but it is literally true where gardening is concerned. Half the success of seed starting comes from the quality of seeds, and the other half from what you do with them. Here are some seed starting secrets that will help you have success with batch after batch of seedlings you can use to fill your garden with.
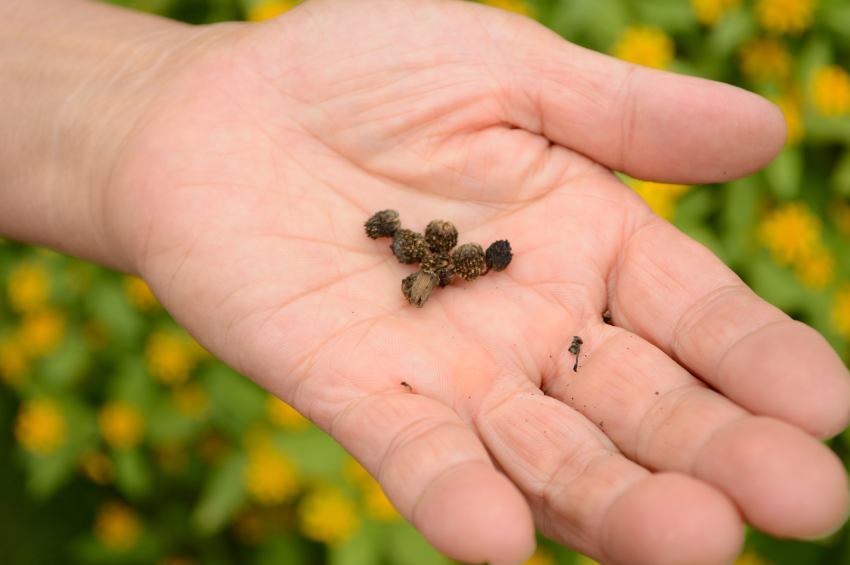
1. Seed selection
The quality of the seeds obviously determines the quality of your seedlings and the final result from your crops. Collecting seeds from homegrown plants ensures high quality since you can harvest them from a few selected plants that produced good results. Make a note of plants that had features that you liked, be it great vigor, early or late maturity, excellent yield, or large flower or fruit size. Allow such plants to set seed and allow a number of the seed heads to mature on the plant. You can know this by the changing color and size of the seeds. In the case of fruit and fruit-vegetables, allow them to ripen on the plant.
Although most of your plants may produce viable seeds, all of them may not give you good results, even when you have carefully collected them from plants that showed excellent qualities. That’s why it pays to know whether they are heirloom varieties or hybrids.
When it comes to hybrids, many gardeners are confused by labels such as F1 and F2. An F1 hybrid is the first generation resulting from a cross between two parental strains with desirable characteristics. The breeders would have repeatedly tested their crossbreeding results to ensure that these desirable characteristics are expressed in the next generation. Consequently, F1 seeds are more or less guaranteed to produce plants matching their description in the catalog.
When you grow plants from F1 seeds, they cross pollinate and produce the next generation of seeds called F2. While some of the plants grown from F2 generation may come true to the F1 generation characteristics, a large majority may display the traits of the original ancestors of F1 generation. Some gardeners, usually the more adventurous hobby gardeners, find it interesting to have such variety in their gardens. In fact, some of them actually order F2 seeds from breeders to get different varieties straightaway without having to grow them from F1 seeds.
Many gardeners, especially vegetable growers, may be disappointed when they do not get good yield or the same plant height, flower and fruit color or taste they expected from the crop. They are better off buying F1 seeds year after year from reputed breeders for best results.
On the other hand, heirloom varieties are open pollinated plants that generally come true from their seeds generation after generation. Many of them have desirable characteristics such as good seed viability, natural resistance to common diseases, with some having certain distinct features like unusual color and shape, extra flavor, and high nutritional value that are unique to them. That said, many of them may not be as prolific as some of the hybrid varieties or have good keeping quality. However, heirloom seeds are your best bet if you want to keep your garden GMO-free.
2. Sourcing tips
If you are not collecting your own seeds, how, or from where, you source them becomes important. Heirloom seeds are often exchanged between gardeners, many areas having seed banks to preserve locally important heritage seeds. Being part of such associations gives you access you to a wide variety plants as well as shared experience of other gardeners. There are seed companies offering some heirloom seeds and others dealing exclusively with them. It is always better to source heirloom seeds from local companies as you have a better chance of getting the ones best suited to your growing zone.
If you are looking for hybrid seeds, source them from reputed plant breeders or established mail order companies. They usually have the latest batch of seeds. With every passing season, seed viability decreases. Although regulations are in place to ensure a minimum rate of germination, the seeds can still deteriorate during the period after mandatory tests are conducted. The germination rate guaranteed on the seed packet applies to the packing date printed on it, but you should also factor in the several months they spend in storage.
It is hard to ignore the great bargains when you come across them on seed stands in the store. Sometimes you get lucky and get excellent varieties at cheap rates, but as a rule, you get what you pay for. Major seed companies get rid of their old as well as inferior quality seed stocks through bulk buyers who supply to seed stands. Beware of the bargains offered by seed companies too, especially just before the planting season. They might be trying to dump stock that may be several years old. But, offers that come towards the end of the season may be a safer bet as they could be just a year old.
Another trick is to try newly developed varieties. They may be pricey, but you have a better chance of getting excellent seeds.
3. Seed storage
How you store the seeds after collecting them from the garden, and also after receiving by mail is also important. Seeds collected from the garden should be dried in the shade and cleaned of chaff and all other debris by winnowing. Seeds from fleshy fruits should be washed well to remove all the pulp sticking to them. In many cases, slight fermentation helps, so soak the seeds of tomatoes and cucumbers in water and keep in a warm place for 3-4 days. Wash them well afterwards and dry them on newspaper.
Moisture and temperature are two main factors affecting seed viability. Seeds with higher moisture content are prone to microbial spoilage, especially when they are stored in high temperature as well. Too much drying can desiccate the seeds and make them useless too. Storing seeds in the refrigerator helps prolong their shelf life, but they should be carefully dried and packed in airtight containers or sealed pouches beforehand. Label with name and date of packing.
You should know which seeds remain viable for a short period and which naturally have longer shelf life. For example, the seeds of leeks and onions lose their viability pretty quickly, as do beet and spinach seeds. In some cases, certain varieties of a vegetables may become unviable sooner than other varieties. A case in point is White Rock cauliflower seeds that have only a 1-year shelf life compared to other cauliflower varieties that stay good for 3-4 years. Mentioning the viability period or use-by-date on the label helps. Group seeds according to use-by-date so that you can use them before they lose their viability.
4. Pretreating
Given the right conditions, some seeds germinate as soon as they are mature. You may see seedlings popping up on some seed heads a few days after a rain. Seeds of most annuals will be ready to grow in the following season, but some may require a longer period of rest. Even when some of them sprout earlier, the seedlings may not be healthy.
The idea of pretreating comes from natural processes seeds undergo in the wild before they germinate. For example, thawing soil or rain softens the seed coat, decaying vegetation under trees provide a warm, acidic environment, and snow cover puts the seeds through a deep dormancy that is broken by temperature changes in spring. Some fruit seeds are subjected to the action of stomach acids as they pass through the digestive tract of animals which later excrete them. Pretreating the seeds simulate these natural conditions.
- Soaking
Direct sowing in wet soil may work for many plants, but others may appreciate a warm water soak to soften their seed coats. Many large seeds like beans and pulses are ideally soaked overnight in lukewarm water before sowing.
- Boiling water treatment
Seeds with tougher seed coats such as Canna seeds may need boiling water treatment. Keep them in a heat-proof bowl and pour boiling water over them. Let soak for 1-3 minutes depending on the hardness of the seed coat. Add a little cold water to reduce temperature, and allow the seed to swell.
- Mechanical stratification
Some seeds need a slight nicking or scarring. Rub the side opposite to the scar (hilum) on the seed with sandpaper or a file or nick it with a penknife. When you need to prepare a large number of seeds, put them in a tin can lined with sandpaper and shake well. Soak the stratified seeds as before. The seeds that do not swell up even after a few hours of soaking should be towel dried and then stratified again.
- Cold stratification
Many seeds from temperate and cold regions need a pre-chill treatment to simulate winter. Soak the seeds and then place them in a plastic bag with a zippered cover containing damp, but not soggy, peat moss. Label the bag and keep it in the refrigerator to chill at 35 to 40F for 1-3 months.
- Acid treatment
Commercial seed starting often uses sulfuric acid treatment instead of boiling water, but it may not be safe for a home gardener. You can try adding coffee or vinegar to warm water while soaking seeds.
- Gibberellic acid-3
This natural plant growth regulator can be used for soaking to ensure quick germination of seeds that would normally need any of the above treatments. Only very small amounts of GA-3 are required, but the correct dosage is essential for desired results.
5. Pretesting for germination rate
If you have plenty of seeds of a variety, you can sow a few in a tray with wet sand or layers of wet tissue paper to check the germination rate. If a majority of seeds germinate (80% or above), the rate is high. 55% and above is acceptable, but anything below may result in poor seedling quality because it indicates seed deterioration. Pretesting gives you the choice to get seeds from an alternate source in case the ones you have are found to be substandard. It also helps you decide on sowing density.
6. Sowing without overcrowding
If you have done germination testing, you would have a fairly good idea about how thickly you should sow the seeds in the seed starting trays. If the seeds have high germination rate, use fewer seeds. At any rate, overcrowding should be avoided since the seedlings as well as their roots need space to spread.
Close sowing may make it difficult to separate the seedlings for transplantation without damaging the roots. You need plenty of air circulation to avoid fungal infections and damping off of young seedlings.
Seed trays divided into compartments are ideal for starting seeds, especially larger ones.
7. Light or darkness?
Generally, seeds are sown in small pockets in the soil and covered with soil. Smaller seeds are broadcast over the soil and covered with more soil. This is to ensure correct amounts of moisture and temperature for sprouting. Most seeds like the cover of darkness until their shoots come up. For example, seeds of Phlox, Verbena, and Calendula require darkness to germinate, while some seeds are not that particular. For very fine seeds that like darkness, but may have trouble pushing through the soil on sprouting, a black plastic sheet may be stretched across the seed tray until you see the green shoots.
Some seeds do not germinate if they are not exposed to light. Begonia, Petunia, Impatiens and Ageratum are some of the ornamentals requiring light. The seeds of lettuces the herb dill need light to sprout, so do some varieties of chili peppers. These seeds are spread over the surface of wet soil and covered with a piece of glass or transparent plastic.
8. Ensuring soil contact
Seeds need moisture to germinate, and this moisture is obtained from the medium in which they are sown. Whether the seeds are covered by soil, or not, you should ensure maximum contact with the medium. Do this by tamping them down with your hands or a block of wood.
9. Moisture retention
The soil in the tray should be kept evenly moist, but not soaking wet. The tender shoots of the sprouts should not be allowed to dry out. Misting the tray with a fine sprayer from time to time keeps the top soil wet. Another alternative is to cover the trays with a glass lid or plastic sheet, as mentioned above.
10. Bottom heat
Warmth accelerates growth, especially bottom heat. Keep the seedlings in a warm place, or better still, provide bottom heating using a heating pad.
11. Bright light
The sprouts require light as soon as they send up the shoots. When they are given sufficient light, the cotyledons that remain attached to the shoots often turn green in an attempt to make food. But the first set of leaves that come up has to have bright light in order to make enough food to sustain the baby plant.
12. Daily rotation
Plants tend to stretch and bend towards the light; seedlings are no exception when they receive light from one direction, as in the case of trays kept near bright windows. This is achieved by elongation of the cells on the shaded side. This uneven growth can make the plants weak. To ensure even growth and sturdy plants, rotate them a quarter-turn each day.
13. Feeding
The baby plants that come from the seeds have some amount of food supply in their cotyledons or endosperm. The energy-intensive sprouting process would have consumed most of this stored food. Once the seedlings start developing the first true leaves, they start utilizing light to make their own food. But we can give additional help by providing some nutrients. A weekly spray of liquid fertilizers diluted to half strength should suffice.
14. Hardening off
The seedlings started indoors need to be acclimatized to the outer environment as soon as possible. Move them to a sheltered place outside when the danger of frost has past. Give them increasing periods of exposure each day. Gradual changes help the seedlings adjust better. Finally, give them at least 2 weeks of full sun exposure before they are transplanted into their final locations
15. Sowing in situ
Some seedlings do not transplant well. It is better to sow them in situ or in their intended locations. Root veggies like carrots, radishes, parsnips are beets are typical examples. Beans, peas, melons, watermelons, squash and a few other plants from the melon family hate to be transplanted.
Tender annuals can be sown outside in spring, hardy ones in fall, but half-hardy ones may need winter cover if planted in fall. Hardy perennials can be started in any season, but it is better to follow the individual preferences of each type of plant.
Once you get the hang of it, starting plants from seed can be a whole lot of fun and a very cost saving venture worth trying!