Conventional gardening, as many people know it, can be back-breaking work. Long hours spent turning up the earth, enriching the soil and weeding endlessly.
If someone asked me I would have to say that my least favorite part of gardening is the weeding, what seemed to me for many years, a painful but necessary part of a successful garden.
However, when I discovered lasagna gardening, my eyes were opened and my back far less sore.
What Exactly Is Lasagna Gardening?
The idea of lasagna gardening was started by Patricia Lanza in 1998 who wrote the book Lasagna Gardening: A New System of Layering for Bountiful Gardens.

Patricia had seven children and was an inn owner with very little time to care for a garden. She developed the lasagna garden system and cut her weeding, watering and tilling time by 60%.
Sometimes referred to as the “lazy garden” or “no-till garden”, lasagna gardening is actually highly efficient.
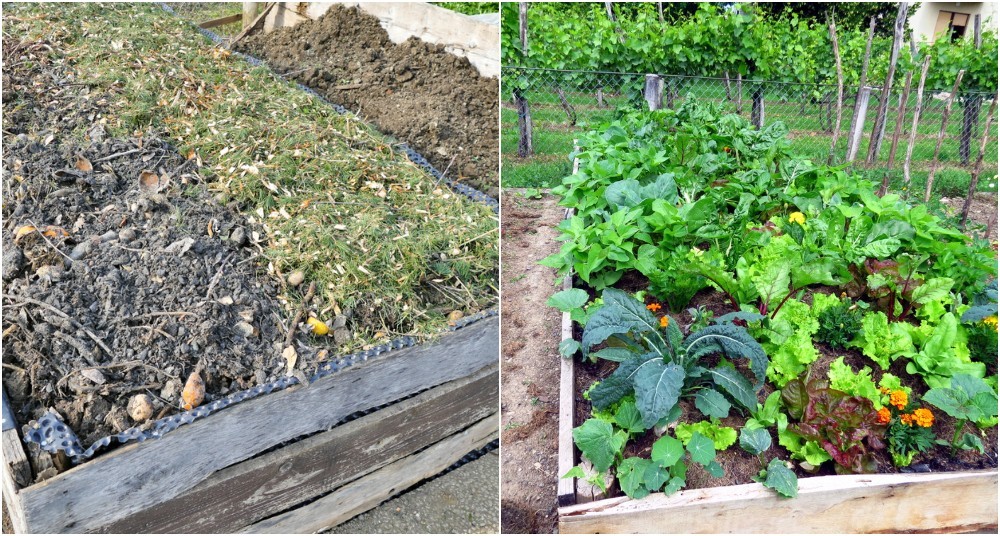
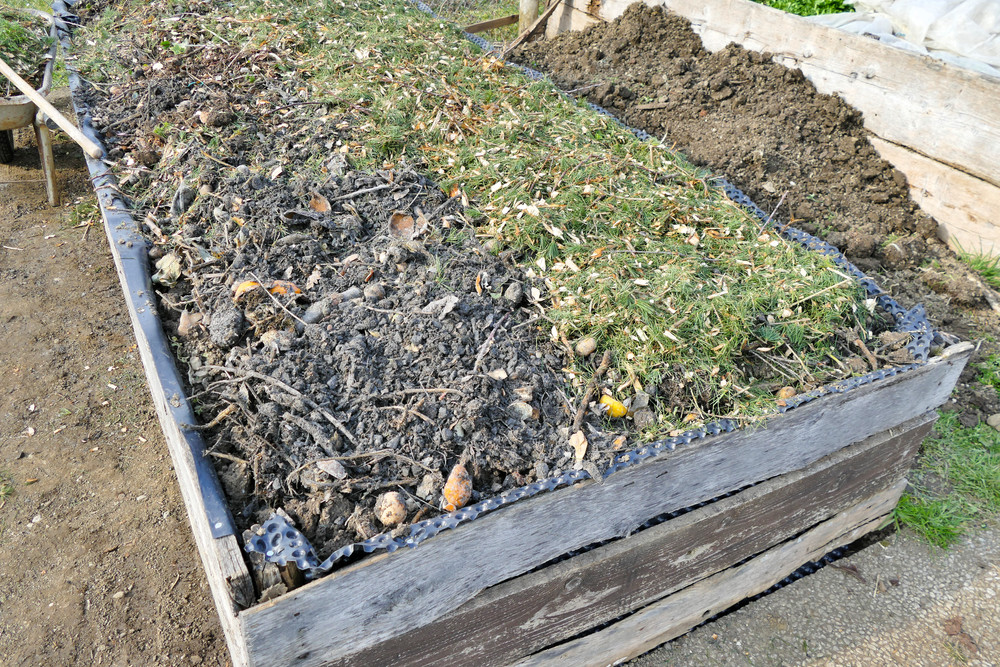
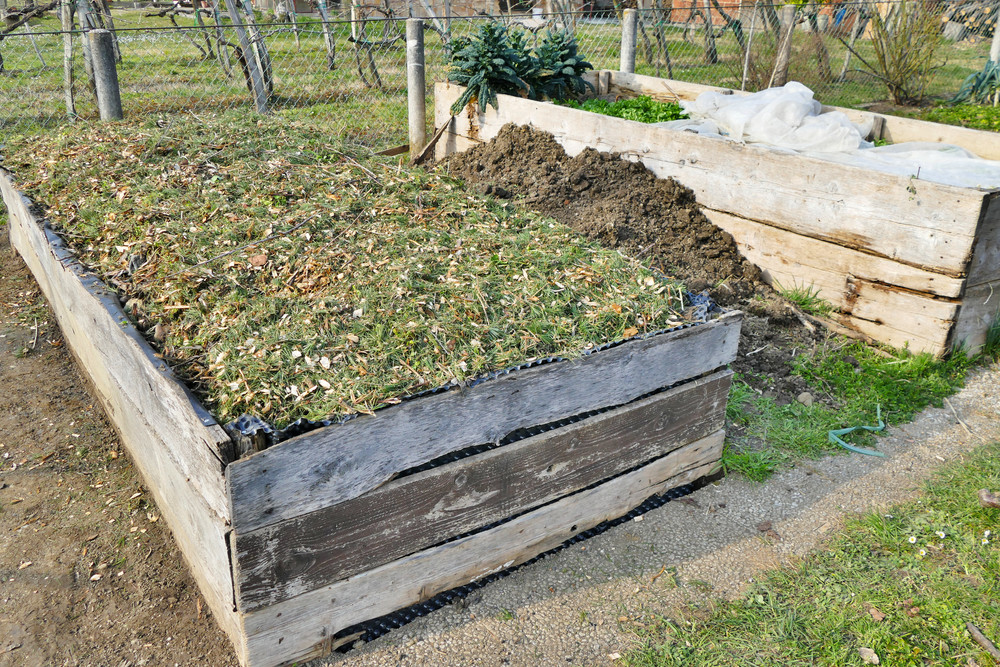
Lasagna gardening got its name because it is all about layers, like the famous pasta dish, lasagna.
Anywhere that you have a relatively flat location and sun, you can construct a lasagna garden. A lasagna garden is basically layer upon layer of green and brown organic materials – that all break down and add to the richness of the garden bed.
What you are really doing when you create a lasagna garden is making a supine compost pile – a pile that is spread out as opposed to heaped up.
Benefits Of Lasagna Gardening
Here is what I love about lasagna gardening.
1. No tilling
One of the great advantages of lasagna gardening is that you don’t have to till. When you till, you often stir up and kill helpful microorganisms that are preserved with this kind of layered gardening.
2. Flexibility
As mentioned – if you have a little space in a sunny spot, you can create a lasagna garden.
3. Accessibility
You can make your lasagna garden as tall as you want – with as many layers. This makes it great for someone who has a difficult time bending down
4. Fewer weeds
When I tried my first lasagna garden I was amazed at how few weeds there was. This was a great and welcomed surprise.
5. Materials
Most people have just what they need to get their garden started right in their backyard already.
6. Organic material
Compost and manure can also be locally sourced from friends and neighbors with animals.
7. Improved drainage
Soil in lasagna gardens stays equally moist with better drainage.
8. Less watering
Once a lasagna garden is established, it takes far less water than a conventional garden.
9. High yield
Once planted, lasagna gardens produce loads of delicious and nutritious veggies.
How To Make A Lasagna Garden
Here is your easy step by step guide to making your own layered garden.
1. Find a spot
First and foremost it is important to find a great space for your garden. Pick a level area that receives from 6 to 8 hours of sunlight daily.
2. Remove existing weeds or tall grass
Cut down existing weeds, tall grass, and small shrubs. Leave the organic matter on the ground.
3. Outline the bed
You can outline the bed with rocks, wood or any other toxic-free material if desired. This step is optional but many people like to create an outline and add some edges to their garden – at least at the base level. If you don’t want sides, just outline the general size of your bed using chalk.
4. Layer one
The very first layer of your garden should be a thin layer of nitrogen-rich material such as kitchen scraps. After you have your kitchen scraps in place, water them well.
5. Layer two
The second layer is your weed barrier layer. Cover all of the area of the garden with pieces of scrap cardboard or newspapers. This layer will choke weeds before they have a chance to get going. If you use newspapers, be sure that they are a few layers thick. Water this layer well – this will allow the layer to soften and let roots from the top penetrate.
6. Layer three
This layer should be comprised of mostly aged compost or manure. Do not use fresh manure as it is considered “hot” or nitrogen rich and can burn plants. Once you have a thick layer of compost on your pile, water it well.
Read Next: 9 Things Everyone Thinks You Can’t Compost, But You Can!
7. Layer four
Place about an inch of straw on top of the compost. The straw will act as an aerator, allowing air to pass through the bed. Wet down the straw well.
8. Layer five
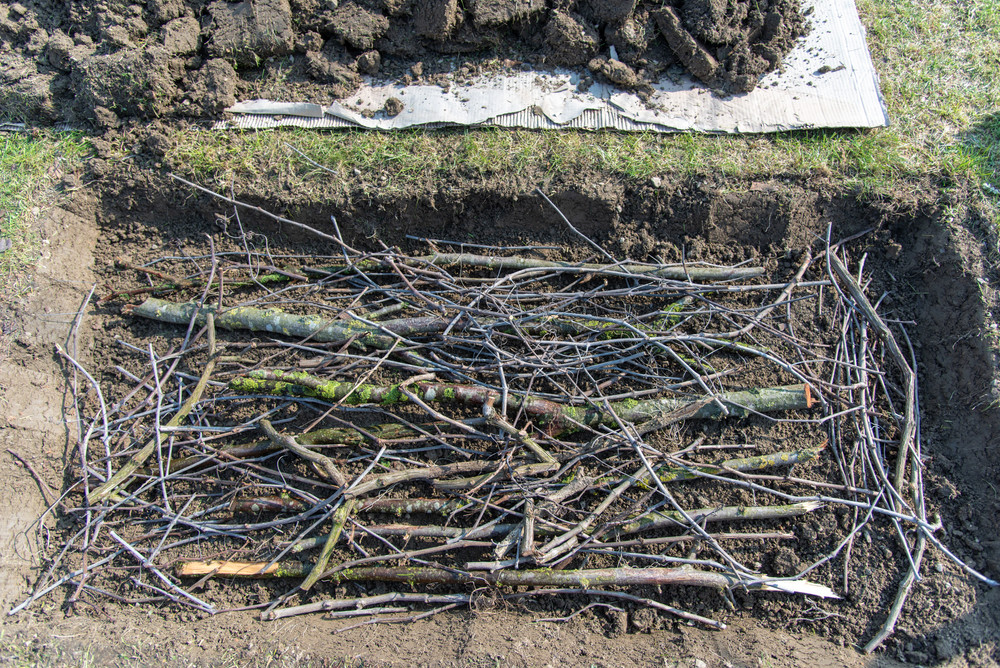
I like to add some thick twigs or small logs for this next layer. Pine, maple or oak work well. The idea behind adding some wood is that over time, the wood will break down and give microbes a place to hang out – increasing the richness and biodiversity of the garden. Wet this layer down well.
9. Layer six
This layer is comprised of vegetable scraps, egg shells or coffee grounds. Anything that you would add newly to your compost pile goes in this layer. Ingredients in this layer will break down slowly over time and add a plethora of nutrients to the soil. Cover this layer with straw and water well.
10. Layer seven
This is another brown or carbon-based layer. Shredded newspaper, shredded leaves, toilet paper tubes, newspaper, napkins etc work well. Cover with straw and water well.
11. Layer eight
This is another layer of fresh compost scraps.
12. Layer nine
Add a bulky layer of carbon-based material – about six inches deep comprised of shredded paper, shredded leaves or straw. Water well.
13. Layer ten
Add two inches of good organic soil. And top with four inches of straw. Water well.
Continue the process until your bed has reached the desired height.
Note: It is best to let your bed rest and begin to decompose for at least a few weeks before planting. If you create your bed in the fall, you can cover it with black plastic and let it “cook” all winter.
Watch this video by Garden Fork for a great visual tutorial.
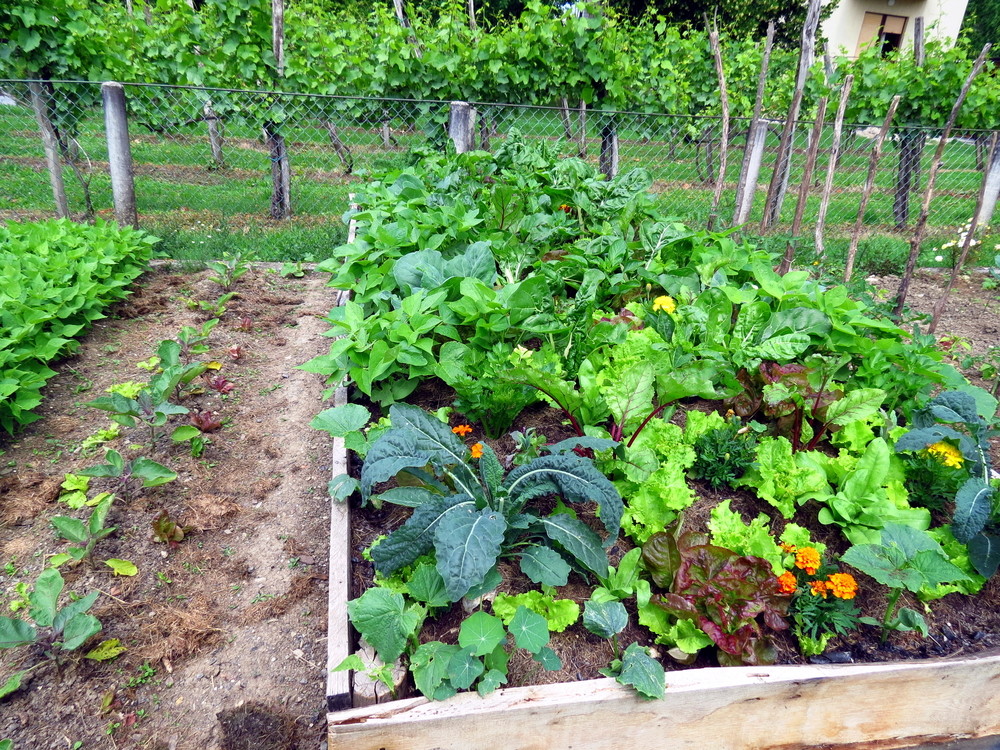
The Best Veggies For A Lasagna Garden
Over the years, with much trial and error, I have found these veggies grow well in my lasagna garden. This by no means should keep you from trying all the veggies you love, this is just what has worked for me.
Root veggies
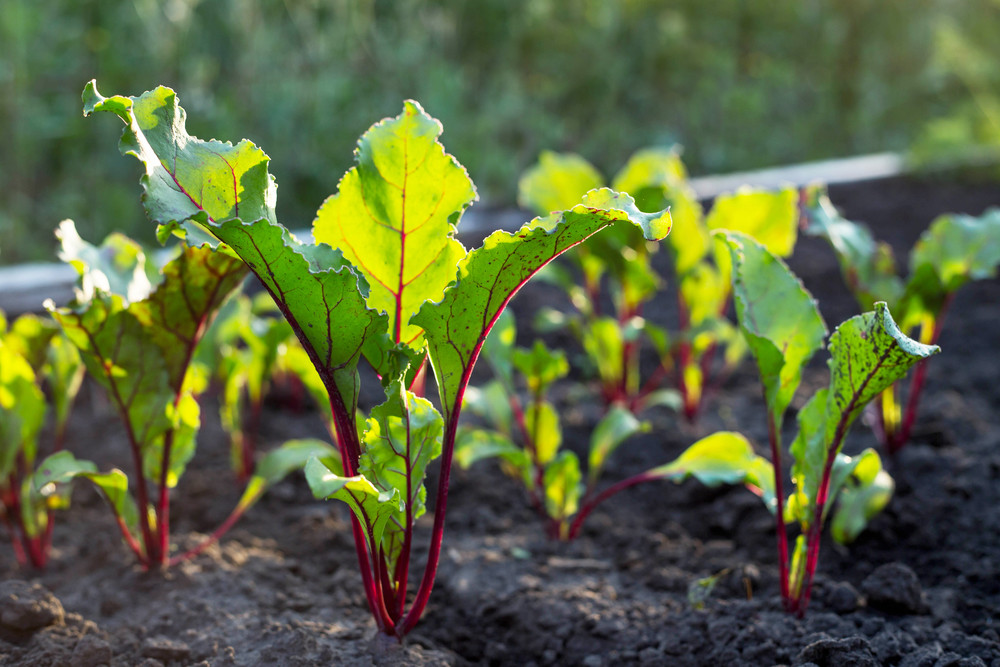
I have had great luck with all root veggies that I have tried including carrots, beets, radishes, and parsnips. They tend to like the well-aerated bed where they can spread out their roods and grow.
Leafy greens
I have had great success with greens such as lettuce, kale, and spinach. I plant these early in the spring, while it is still cool. They like the evenly drained soil that keeps them from getting soggy roots.
Read Next: 11 No-Work, Fast Growing Greens You Can Grow Anywhere
Tomatoes
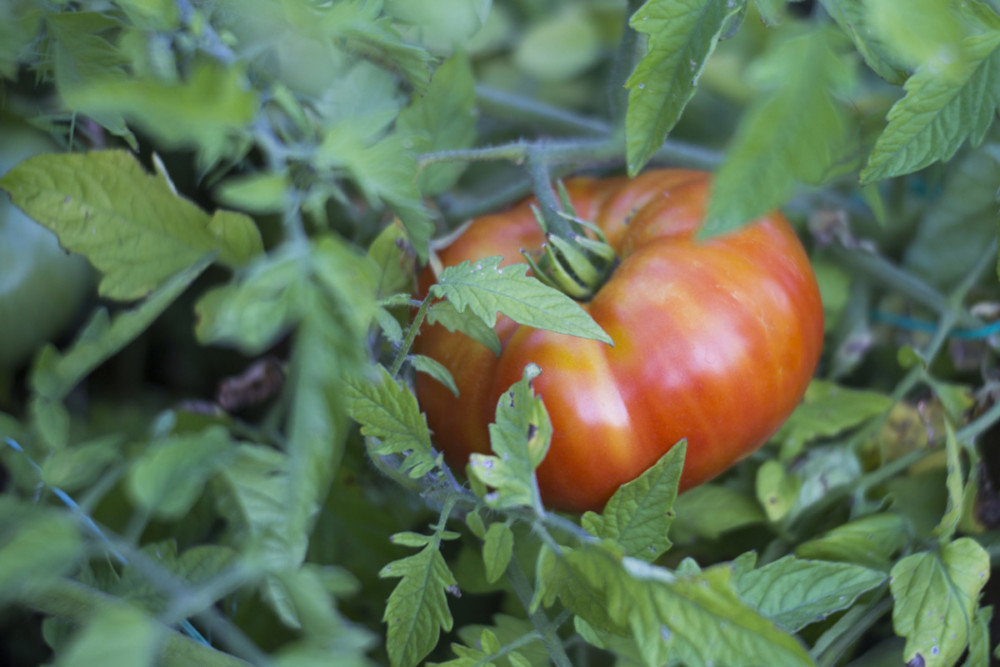
My tomato plants have flourished in my lasagna gardens mostly due to the rich nitrogen in the soil. The only issue I have had is getting stakes to stay upright in the beds but that has not really hindered my tomato crops at all.
Potatoes
Potato harvesting has never been easier since I started growing them in my lasagna gardens. Potatoes like loose and loamy soil and small hills which are easy to make in the lasagna bed.
Onions
Onions love quick-draining soil and rich organic matter. This makes them well suited for lasagna gardens. My onions seem to thrive best when I include plenty of compost in my bed. Since the temperature in lasagna beds is warmer than conventional beds early in the season, you can get a head start on your onion crop which takes 100 days or so to mature from seeds.
Tips For A Great Lasagna Garden
- Remove glue, tape, and staples from cardboard before placing in the garden.
- Do not use treated or toxic wood.
- You should have twice as much brown material as you do green material.
- Lay soaker under the layer of straw to provide ample moisture
- Be sure to use straw, not hay. Straw breaks down quickly and adds nitrogen to the soil. Hay takes a long time to break down and has a ton of seeds which eventually sprout and produce weeds.
- Start your lasagna garden in the fall when you have plenty of organic material to get you going.
- Make several lasagna gardens and use cardboard in between the beds to keep the weeds down and create a nice garden space.
- This technique works well in containers as well.
Best Brown Materials
Here is a quick list of the best brown (carbon-rich) materials to use in your lasagna garden
- Peat moss
- Straw
- Shredded leaves
- Shredded newspaper
- Shredded office paper
- Sawdust
Best Green Materials
Here is a quick list of the best green (nitrogen rich) materials to use in your lasagna garden
- Compost
- Manure
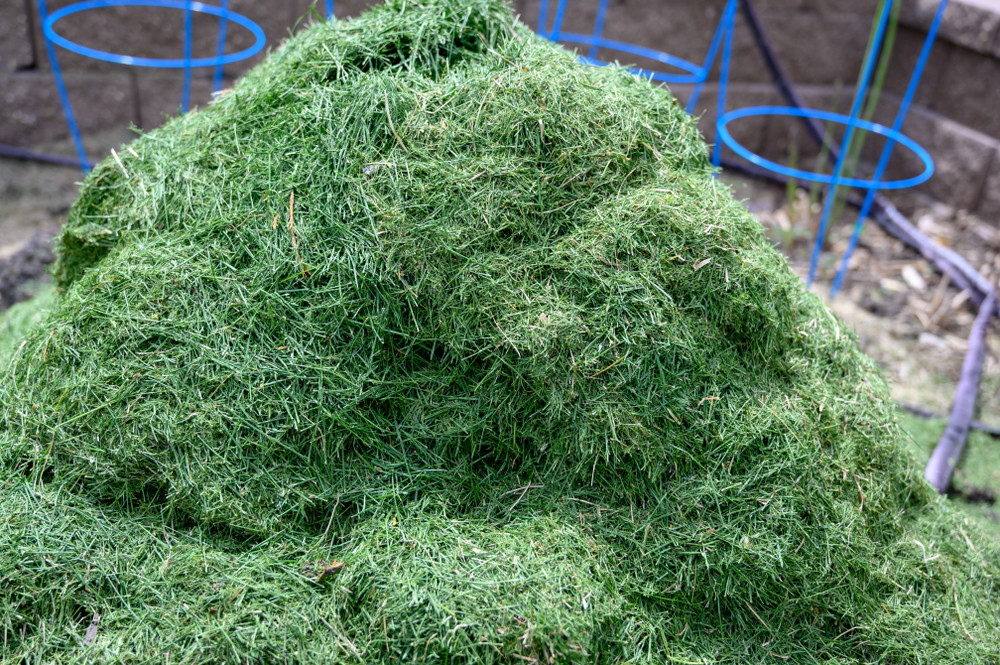
- Grass clippings
- Animal bedding
- Yard waste
- Vegetarian kitchen scraps
- Coffee grounds
- Seaweed
- Blood meal
Planting & Maintaining The Lasagna Garden
Once you have allowed your lasagna garden ample time to begin decomposing, it is time to plant. Wet the top layer of the garden thoroughly before planting. Plant seeds in the garden as you would in any conventional space.
Once seedlings emerge, apply an additional layer of straw on top of the bed. This breaks down for additional organic matter and conserves water while keeping weeds down.
Each fall, add a few more layers to the garden and over time you will have a super rich, super diverse soil base where plants will thrive.