Have you ever thought about how wonderful it would be to have fresh greens in February?
Living in a region of the country where winters are chilly, having fresh garden veggies probably seems pretty much impossible, but it actually can be, thanks to the ancient practice of growing in cold frames.
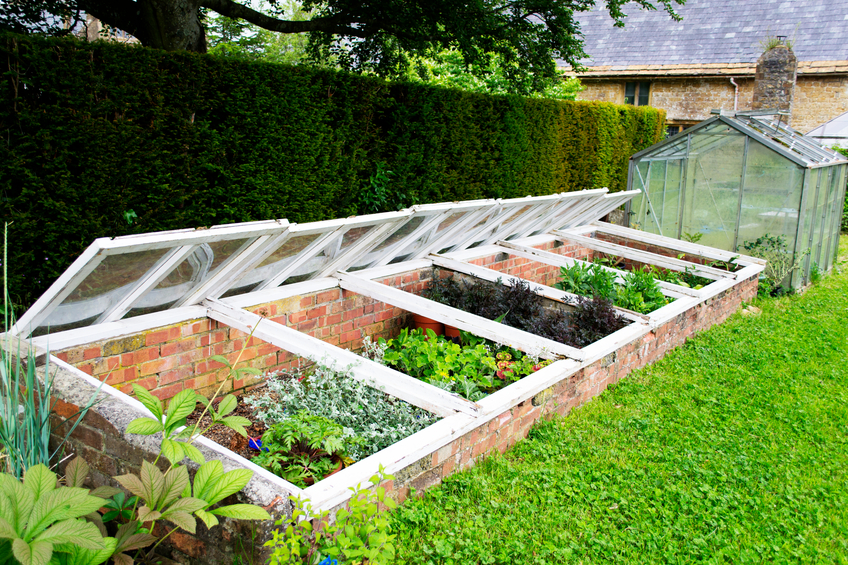
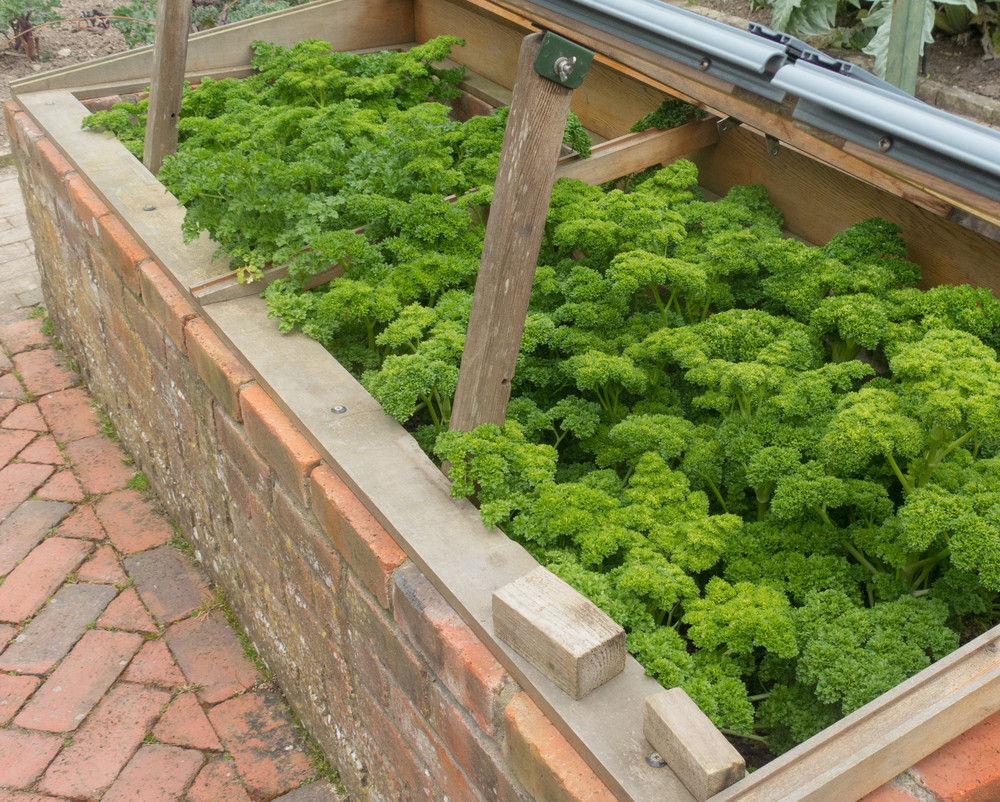
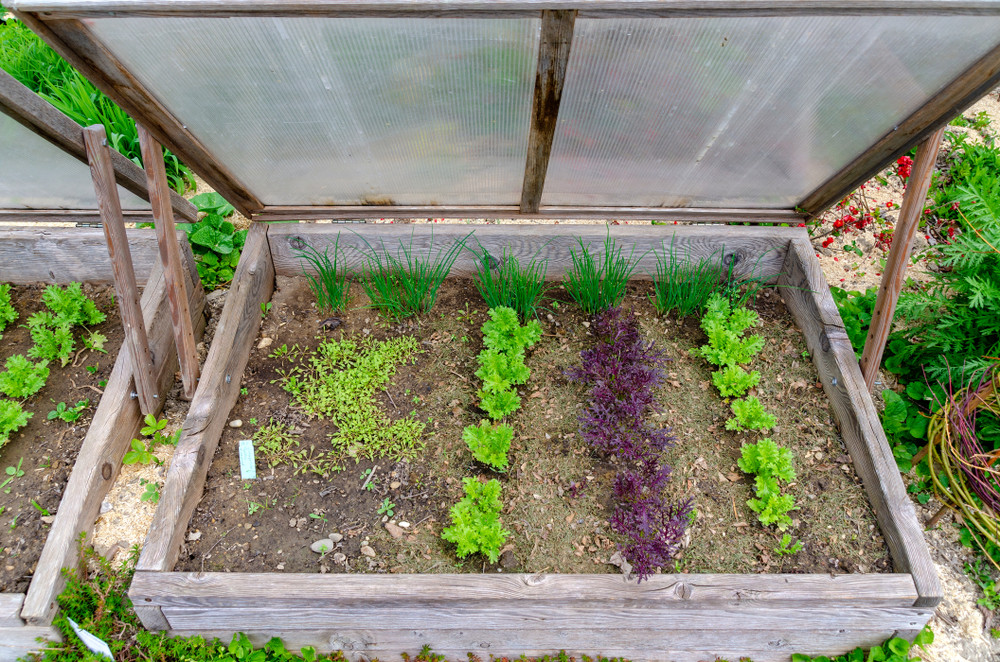
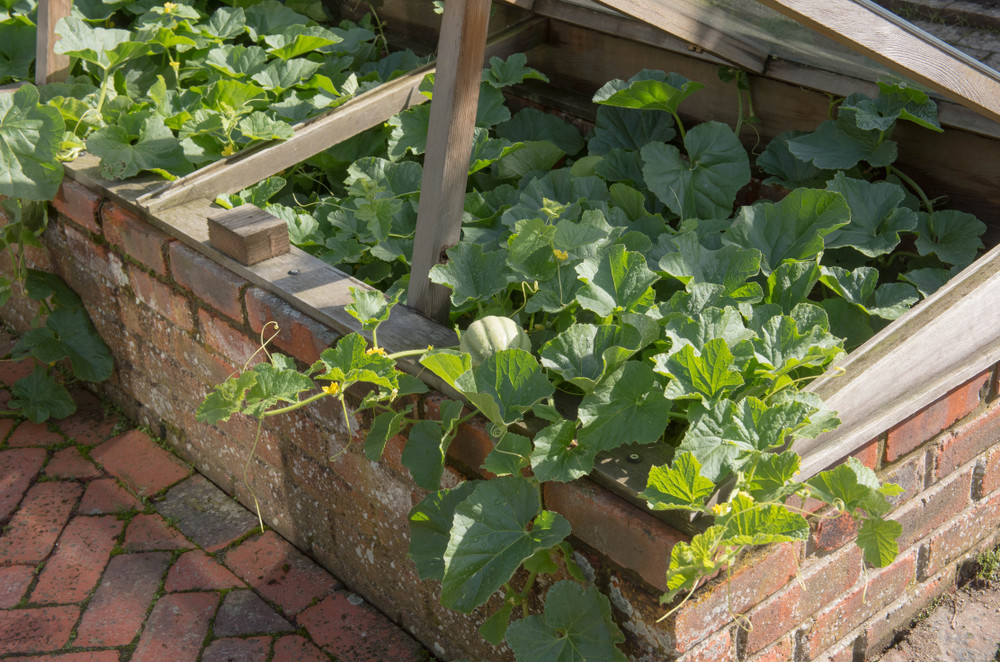
A cold frame is simply four walls that are used to trap heat and shelter plants, and a transparent lid that allows light to get in.
When you maintain the right temperature, heat, light, moisture and element exposure within the cold frame, your plants will thrive.
Even the smallest of gardens can accommodate a cold frame and offer protection to a variety of seedlings and young plants, succulents, herbs and alpines all year long, and extending the growing season too.
Unless you’re a grower that happens to live in a tropical area that isn’t subject to winter’s cold, you really should think about building a cold frame, and here’s why.
3 Reasons You Should Build A Cold Frame
1. You’ll save money
The longer you can harvest vegetables from the garden, the longer you’ll save money by not having to purchase those veggies at the market.
Homegrown salad greens and other vegetables are so much cheaper, tastier and even more nutritious than typical store-bought.
For just pennies, you can head out to your garden and pick your own.
Plus, the cold frame can be used to start cuttings from favorite perennials and ornamental garden plants.
Instead of buying pricey nursery plants, you can propagate, azaleas, coniferous evergreens, rhododendrons and multiple other types of plants taken in autumn through mid-winter.
2. Extend the growing season
The main reason for using a cold frame is to extend the growing season.
Fresh spinach, lettuce and the like are possible all winter long, provided the sun’s warmth is properly harnessed.
The capacity of the earth to hold heat, combined with the warmth of the sun, keeps the growing environment ideal for cool weather crops.
Cold frames also offer good protection for tropical plants during the cold season, creating a warm climate in the garden as well as the necessary conditions for the plant to thrive.
You can also get a jump on growing for the summer season by starting annual seeds in the cold frame.
It’s the perfect transitional spot for seedlings to get them ready a bit earlier than typically possible.
You can harden off seeds from delicate plants by starting them inside before taking them out to the garden. In order to do so, you’ll need to keep track of the weather and plan accordingly.
Before you move young seedlings into the cold frame, be sure that they have multiple sets of leaves that have rooted well.
Before planting them into the frame, begin the venting process starting the with the warmest time of day, keeping the venting period shorter on the first day and then gradually increasing the time.
You can tell that your plants have acclimatized when new growth, dense and dark foliage appear.
3. Sowing seeds early
Usually you can only sow seeds at a specific time of the year, if you’re sowing them right into the soil, or into flats. But when the seeds are protected by a cold frame, they can be sown a bit earlier.
As the cold frame has a controlled temperature, it helps to get them acclimatized and it makes transplanting easy.
For successful seeds sown in early spring or fall, be sure to get plants that do well in cooler weather, such as spinach, lettuce, kale, carrots and broccoli.
If you plan to sow seeds directly into the cold frame, you’ll want to get the frame ready at least two weeks before in order to protect the seedlings.
The seedbed needs to be evenly moist so you’ll need to begin venting the cold frame in order to remove dampness after seedlings start to germinate.
This helps to protect them from extreme weather conditions and temperature fluctuations.
Deciding where to put your cold frame
Before buying or making your cold frame, you’ll need to decide where to put it.
The best place, according to Rodale’s All-New Encyclopedia of Organic Gardening, is a sunny, south-facing spot that has good drainage and also offers at least some protection from the wind and other elements.
Ideally, it should get full sun from mid-morning to mid-afternoon.
It can be set up permanently in a garden, or it can be temporary in that it’s put away after use.
Before setting up a cold frame in a permanent place, you’ll need to dig up the first three or four inches of soil inside the frame, replacing the soil with a layer of coarse gravel before adding six inches of topsoil onto that to ensure proper drainage.
The key to success is to pay close attention to the temperature – it should be under 75 degrees in the cold frame for summer plants, and below 60 degrees for plants that typically grow in the spring or fall.
If you need to achieve a cooler temperature, lift the lid to let air in.
Many gardeners follow this general rule: If the temperature outside is over 40 degrees, keep the lid open about six inches, when they top 50 degrees, take the lid off altogether, but be sure to replace it in late afternoon in order to trap enough heat in for cool nights.
On nights where temps dip below freezing, your plants in the cold frame will likely need some extra protection, you can do this by adding insulation on top of the lid – newspaper, straw, old blankets or whatever you happen to have handy should work.
Building the cold frame
While you could spend your hard earned cash on a cold frame, there’s really no reason to do so when you can put one together yourself fairly easily.
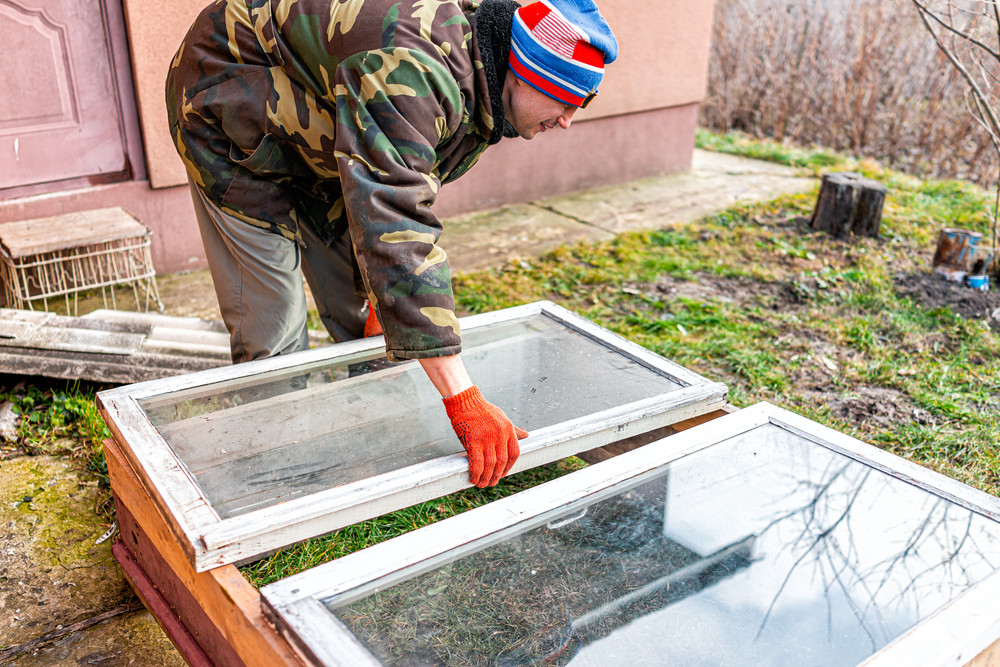
The walls can be made from just about any type of sturdy material, from plywood or concrete to bales of hay. An old window makes a great lid, or you might use plastic sheeting tacked to a frame.
There are lots of great DIY ideas out there, including these:
Recycled window cold frame. This Old House offers this plan for a cold frame that uses a recycled window for the top, and is great if you’re looking for something more permanent as it’s placed on a foundation of bricks.
Better Homes and Gardens simple cold frame plan. This easy DIY plan from Better Homes and Gardens utilizes widely available materials like plywood and poly-sheeting and takes just a weekend or two to build.
Vegetable Gardener’s cold frame. This plan results in a very well-made cold frame and incorporates a Uni-vent system which allows the top to be automatically raised and lowered based on interior temperature.
Mother Earth News inexpensive cold frame. This cold frame plan by Mother Earth News uses inexpensive materials like polystyrene insulation board, scrap lath and molding, and fiberglass-reinforced plastic glazing or old storm windows.