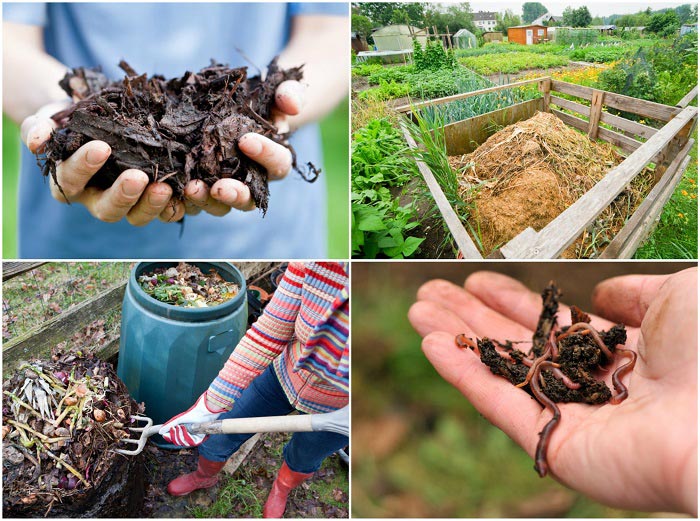
Nature is the ultimate recycler. When we compost organic matter, we’re really just mimicking the process that occurs naturally on the forest floor: leaves drop, branches break, animals perish, and nothing goes to waste. These plant and animal organisms slowly decompose and are eventually transformed into humus, a vital building block for the formation of new life.
Black Gold
Humus (pronounced HUE-mus) is dark topsoil, a variable and complex mix of thousands of organic compounds like sugars, starches, fats, proteins, resins, carbohydrates, lignin, waxes, and organic acids. It is abundantly fertile, enriched with nutrients and beneficial microbes. As a soil conditioner, it has the incredible ability bind to and improve existing soil structures, rendering sand more moist and clay less dense. Resistant to erosion and drought, humus can hold 80 – 90% of its weight in moisture. It acts as a pH buffer, balancing out highly acidic or alkaline soil. It also naturally deters plant disease and pests.
Humus is truly magical stuff, which is why it is sometimes referred to as black gold. Composting at home mirrors this process and finished compost has the same all-in-one fertilizing, soil amending, and disease fighting benefits as humus does in the natural environment. Finished compost looks dark brown or black, smells earthy, has a crumbly consistency, and is free of any discernible particles or organic materials.
The Elements of a Healthy Compost
To produce humus of the highest quality, four key elements are needed to create a balanced environment for the millions of micro- and macro-organisms that will be working to break down the organic matter into finished compost. These are:
Carbon (Browns)
Called browns because they are dry, carbon materials supply energy to the bacteria, fungi, rotifers, and earthworms that process the compost. Carbon also absorbs excess moisture and helps air-flow. Browns include dry leaves, branches and twigs, pine needles, paper products like non-glossy newsprint and soiled napkins, cardboard, woodchips, sawdust, wood ash, and dryer lint.
Nitrogen (Greens)
Called greens because they are fresh and moist, nitrogen provides nutrients and protein to the compost, allowing microbes to grow and reproduce. Nitrogen-rich materials consist of food scraps, fruit and vegetable cuttings, coffee grounds, grass clippings, green manure, weeds, and spent teabags.
There are many, many more compostable materials to be sourced in and around the home. To speed things up, cut larger greens and browns into smaller particles. In general, meat and fish, dairy products, and cooking oils should not be added to the compost since they can cause odors and attract pests. Diseased plants, weeds gone to seed, coal, pet waste, black walnut tree twigs and leaves, and chemically-treated yard waste are other items that should be kept out of the pile.
While it is important to strike the proper balance between carbon and nitrogen materials (the ideal ratio is 25-30 parts carbon to 1 part nitrogen), those new to composting shouldn’t get too caught up in the numbers. The pile should always have proportionately more browns than greens, which isn’t too difficult to accomplish since carbon-rich yard waste is more plentiful than nitrogen-based food scraps. Composting involves some trial and error; check this troubleshooting chart for common compost issues and solutions.
Recommended Reading: 14 Genius Ways To Recycle Used Coffee Grounds
Oxygen
Adequate airflow speeds up decomposition and provides oxygen to the micro-organisms busy at work. Too much air circulation will dry out the compost while too little will cause many of the beneficial microbes to suffocate, resulting in a stinky pile. Oxygen flow can be passive, via natural convection, or active, by turning the pile with a shovel or pitchfork to aerate it.
Water
If the compost dries out, the micro-organisms will die, effectively putting an end to humus production. The optimal water levels for the compost pile are between 40-60%; the compost should be moist to the touch but squeezing a handful doesn’t cause more than a drop or two of water to leach out. Rainfall or the occasional watering can help keep the pile moist. If it’s too soggy, add more carbon materials.
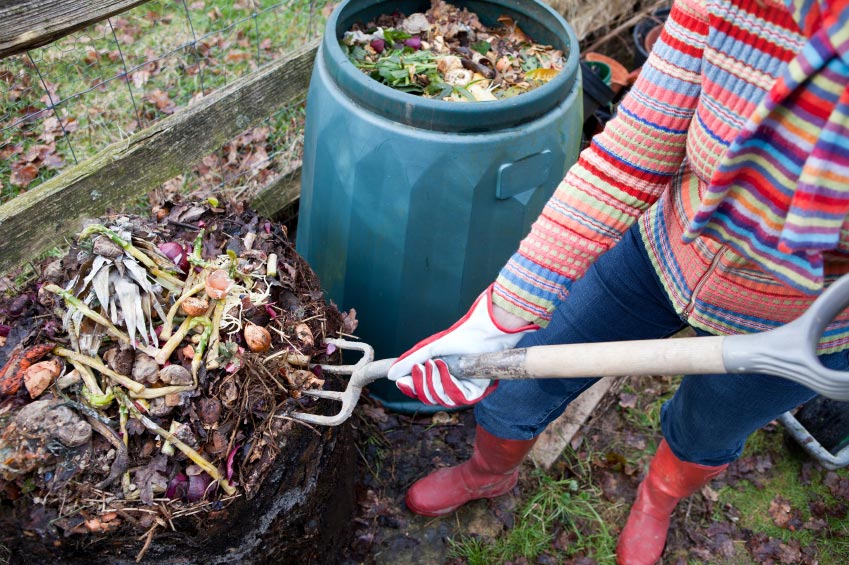
4 Ways to Compost
Establishing a balance between carbon, nitrogen, moisture and oxygen levels may seem daunting at first but composting is actually really easy! Whether you have a large backyard or live in an apartment, have lots of time to devote to the pile or none at all, there is a composting technique that will suit your lifestyle. It is an earth-friendly practice that helps keep waste out of landfills, and, in addition to creating a free supply of humus, you’ll save money on the cost of fertilizers and pesticides.
Cold Composting
One of the most versatile, low-maintenance, and common composting methods is the cold compost. Cold composting is a relatively laissez-faire operation, but the downside is it’s very slow – taking a year or two to produce finished compost.
Heap composts involve no structure or containment and are piled on the bare ground. The minimum size of the heap should be one cubic yard (3’x3’x3’) in order to retain heat. Although other compost setups require layering greens and browns and heeding carbon-nitrogen ratios to some degree, heap composting is passive – just add materials as you acquire them, being sure to bury greens within the pile to prevent pests. Turning the heap will speed up the process, but manual aeration is completely optional. Once the heap is large enough, stop adding new materials to the pile and give it time it to mature; you can make a second pile in the meantime.
Contained composts keep things tidier and are less unsightly than open-air heaps. Basic bin composts can be made at home easily and inexpensively with a plastic trash can or shipping pallets. When you’re ready to begin composting, start by adding a few inches of brown materials first, then alternate between greens and browns. Always cover nitrogen materials with carbon to keep insects and rodents away. Finished compost is harvested from the bottom of the bin.
Hot Composting
For results in as little as four to six weeks, hot composting offers an efficient and expedient way to get your hands on some humus quickly. Hot composts maintain a constant temperature between 120-150?F, warm enough to speed up decomposition but not so sweltering that it kills off beneficial organisms.
To keep the compost nice and warm, it should be placed in full sun in a dark, contained receptacle to boost solar heating. Since smaller particles will decompose faster, cut up larger materials into pieces no larger than two to three inches in diameter. Rather than building the pile as you go, hot composts need a minimum cubic yard of materials to start, as heat will be trapped much more effectively with a larger volume. Hot composts also need to be aerated every five days, making this DIY tumbling composter a practical necessity. To ensure your hot compost is indeed hot, use a meat thermometer to check the temperature daily.
Trench Composting
The easiest of all outdoor composting methods has to be trench composting. You don’t need any special equipment to do it, nor do you need to worry about ratios, aeration, moisture, or layering. Trench composting happens when you bury your kitchen scraps directly in the ground: dig a hole about a foot deep, place your food waste inside, and cover with at least eight inches of soil. The interred organic material will take one month to one year to fully decompose. Nearby plants will benefit from nutrients placed close to their roots, and, as a composting system, it is invisible and odorless.
You can use trench composting randomly in empty spots in the garden or take a more systematic approach. One example is the three-year rotation.
Vermicomposting
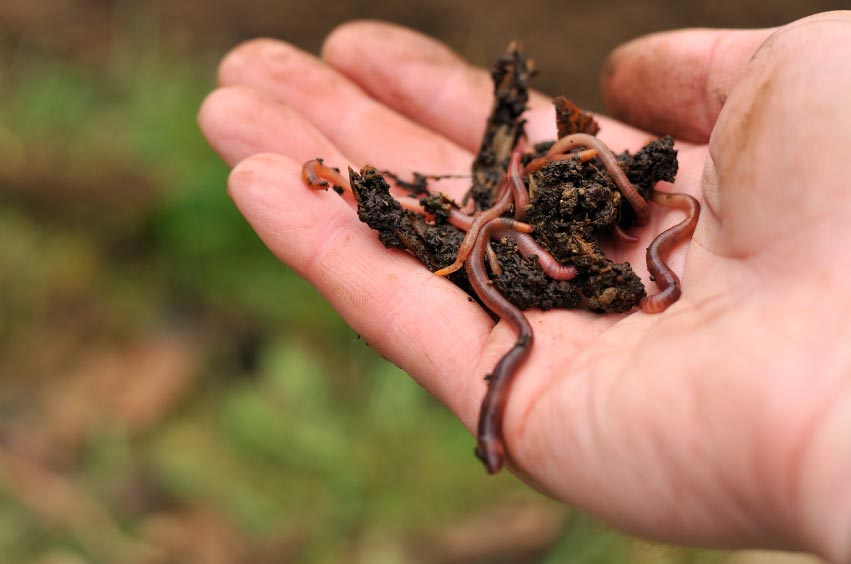
Vermicompost is an excellent option for people who live in apartments or have limited yard space, as well as those who reside in colder climes and would like to have a steady supply of compost year-round. In vermicomposting, earthworms consume and digest organic materials and their excretions produce worm castings – which is essentially worm poo.
Worm castings are especially nutrient-rich and far more potent than humus made using conventional outdoor composting methods. And just like regular humus, vermicompost improves soil structure, retains moisture, boosts plant growth, and repels pests.
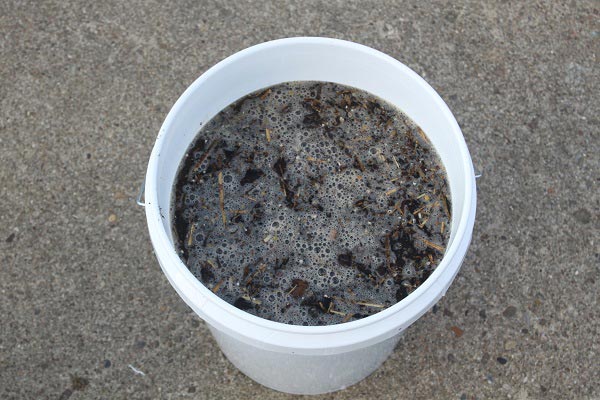 A little vermicompost goes a long way. As a soil conditioner, it should always be mixed at a 1:4 ratio. It can also be used to make some amazing compost tea.
Red wigglers (Eisenia fetida) are a popular choice for small-scale vermicomposting since they only burrow 6 – 12” below the surface. They are also voracious eaters – two pounds of red wrigglers will recycle one pound of organic material in about 24 hours. They reproduce quite quickly, so a good amount to begin vermicomposting with is a half-pound or less.
To make a worm habitat, worm bins can be assembled with a couple 10-gallon plastic tubs drilled with holes for ventilation and drainage. Fill the bin ¾ to the top with bedding (shredded carbon materials like newspaper, cardboard, leaves, straw, and dead plants) and add water. Worm bedding should have the consistency of a wrung-out sponge and be loosely layered so the worms can breathe.
Nourish the earthworms with food scraps and other green materials but avoid feeding them onions, garlic, and spicy foods. When adding feedstock to the bin, be sure to cover it completely in bedding to avoid attracting flies and other pests to your worm farm.
Red wigglers thrive in warm, dark, and quiet environments, so a good place to stow your worm bin is under the kitchen sink, in a closet, or in a heated garage.
When the red wigglers have eaten through most of the bedding, which should take between two and six months, it’s time to harvest the castings. There are several ways to accomplish this without having to pluck each worm from the compost by hand.
The side-to-side method, for instance, makes for easy harvesting without disrupting the organic waste disposal system. Simply push the finished compost to one side of the bin and fill the empty side with fresh bedding. For the next few weeks, add organic waste to the end with the new bedding. The worms will migrate toward this side, leaving the side with finished compost practically worm-free. Once you’ve harvested the castings, fill it with more bedding to start the cycle anew.