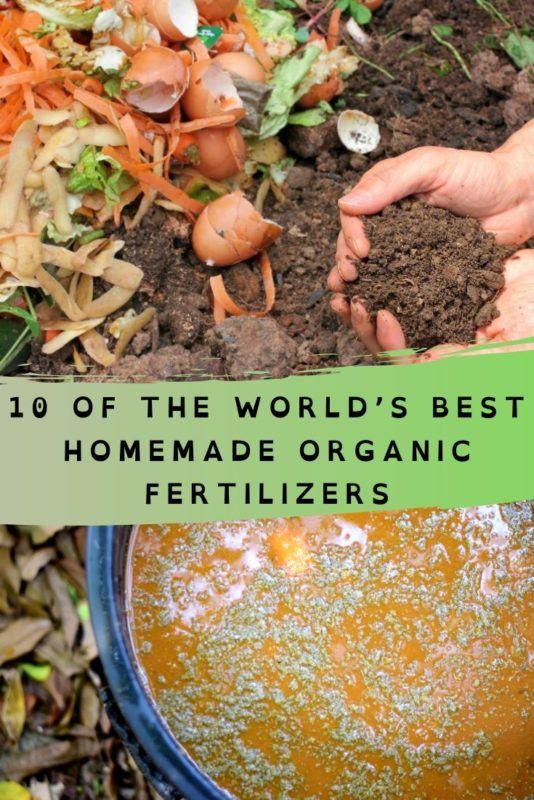
When it comes to organic gardening, the options for all-natural fertilizers can often be scarce on the shelves at your average supply store.
Those that do exist are more expensive and while they may say “organic” on the packaging, you really don’t know what’s in them.
Fortunately, making your own natural organic fertilizers can be both easy and inexpensive, often using components which you already have lying around the house.
To get started, let’s take a look at the basic elements that make up a good fertilizer, as well as the trace nutrients needed for more specialized plant food.
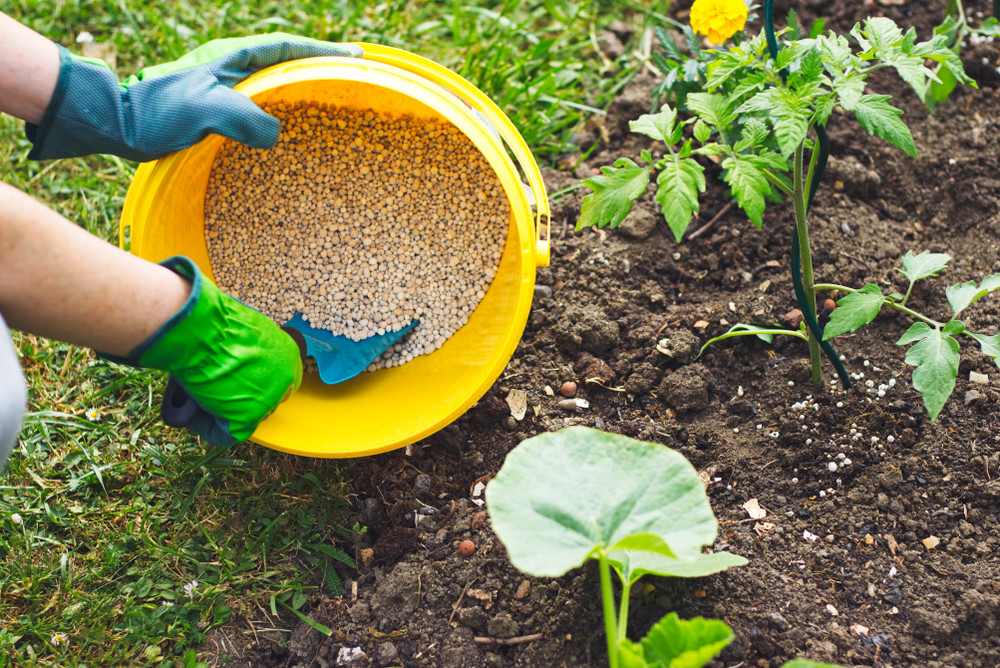
1. The Fertilizer Formula
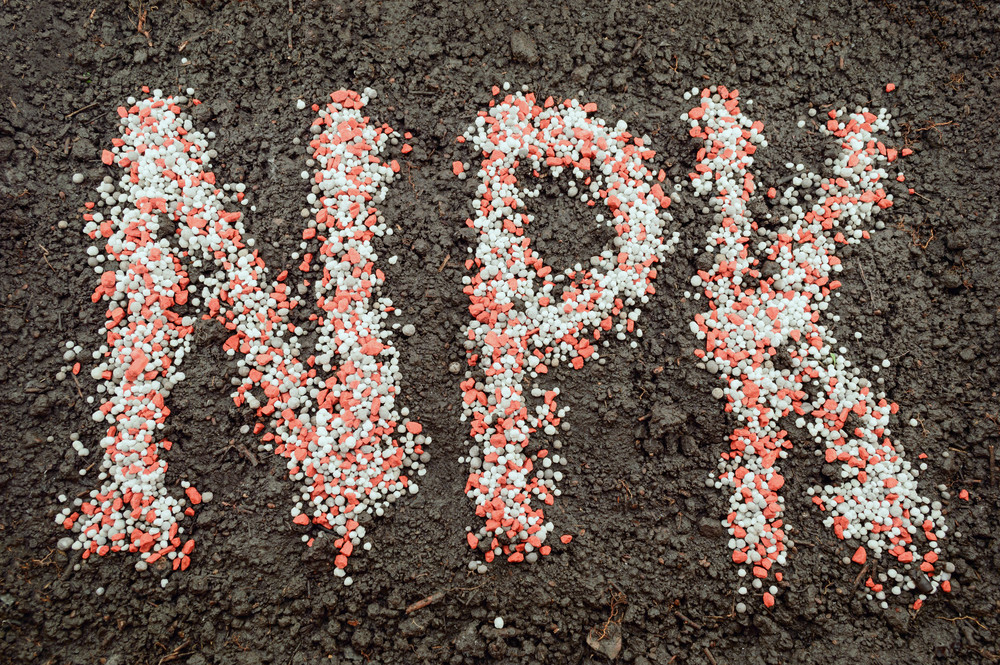
Unless you’re fairly new to gardening, you’ve likely seen the three numbers listed on the label of the majority of premixed fertilizers.
If you aren’t familiar with what they mean, the numbers represent nitrogen, phosphorus, and potassium or N – P – K.
These vital nutrients are needed for strong aerial growth, root development, and overall plant health, respectively.
A good way to remember N – P – K is by using the phrase “Up, down, and all around.” Knowing these three main components is essential to creating the perfect food for your garden.
2. Trace Nutrients
Just as humans need more than proteins, fats, and carbohydrates in their diets; plants cannot survive on N – P – K alone. There are thirteen additional chemical elements that contribute to the health and productivity of your garden.
Aside from the primary nutrients which we have already identified (nitrogen, phosphorus, and potassium), plants require three secondary minerals: calcium (Ca), Magnesium (Mg), and Sulfur (S).
During photosynthesis, plants use sunlight to break water and carbon dioxide down into hydrogen (H), oxygen (O), and carbon (C); the three non-mineral nutrients which they turn into food. Boron (B), copper (Cu), iron (Fe), chloride (Cl), manganese (Mn), molybdenum (Mo), and zinc (Zn) are the necessary micro-nutrients which a plant must obtain from the surrounding soil.
For more information on plant nutrients and their role in your garden, read more in this article from NCARG.
Which if any of these minerals you will need to include in your fertilizer depend largely upon your soil type.
Acidic soils (low pH) such as those with high clay content tend to be lacking in macronutrients (N, P, K, Ca, Mg, and S) while alkaline soils (high pH) generally contain insufficient micronutrients (B, Cu, Fe, Cl, Mn, Mo, and Zn).
Garden soil with a neutral pH between 6.0 and 6.5 generally contains adequate amounts of both sets of nutrients required to sustain healthy plants. If you need help gauging the quality of your soil, take a sample and have it tested.
3. Tomato Fertilizers
Of all of the plants in your garden, nothing loves calcium more than a tomato vine.
Furthermore, because excessive leaf growth discourages blossoming and fruiting, these plants do best when offered a healthy amount of nitrogen early on. (Try using rabbit manure for a quick easy N-boost!)
Then, once the vines are established, you should switch over to a fertilizer high in phosphorus and potassium, but low in nitrogen.
Tomatoes also benefit greatly from magnesium, producing sweeter fruit when generously supplemented with this secondary mineral.
Check out these recipes for growing more, bigger, and tastier tomatoes:
My Homemade Tomato Fertilizer Recipe Perfect Over 30 Years
Shannon’s Homemade Monster Tomato Fertilizer
Veggie Gardener’s Homemade Tomato Fertilizer
Further Reading: 11 Pro Secrets For Growing The World’s Tastiest Tomatoes
4. Rose Fertilizers
There are scarce few gardening endeavors as rewarding as growing the perfect rose. There are also few as difficult.
Roses require constant attention – weeding, pruning, pest-treating, training, and of course feeding.
Getting your rose fertilizer just right can have a huge impact on the appearance and quantity of blossoms your bushes unfurl each year. If you need a little help balancing your roses’ diet, give some of these homemade fertilizer recipes a try:
Kelp & Molasses for Roses (+3 more recipes)
Diane’s Seeds – Homemade Rose Fertilizer
All-Natural & Organic Fertilizers for Roses
Gardening on a Dime – Tips & Recipes for Roses
Further Reading: 11 Secrets For Growing The Biggest, Most Beautiful Roses
5. Up-cycling Fertilizers
There are several common household items which make much better fertilizers than waste bin-fillers. The next time you go to toss one of these items in the trash, consider feeding it to you garden instead:
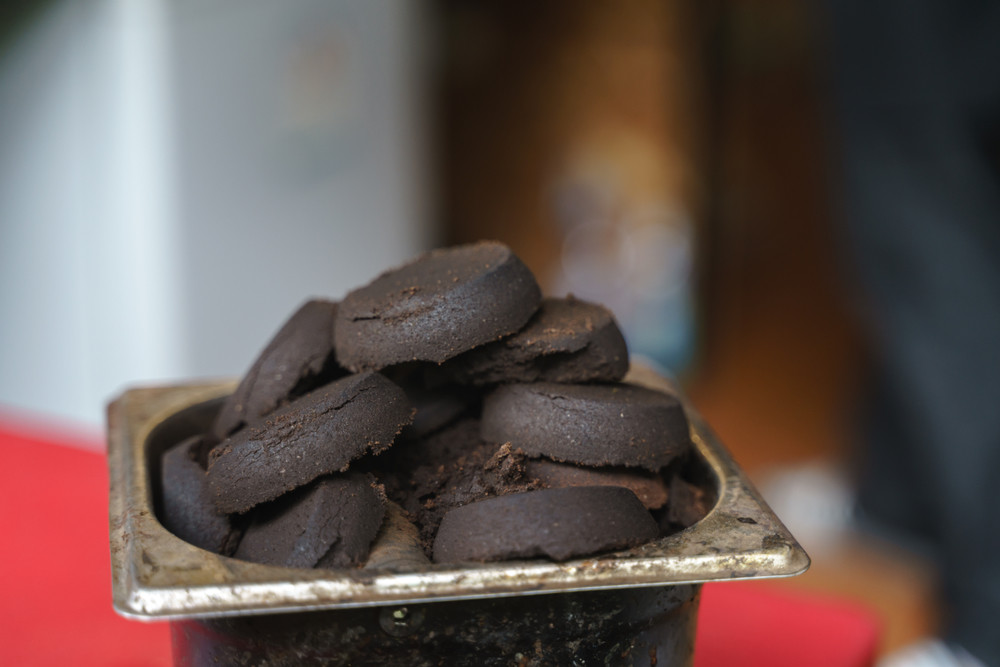
Mix used coffee grounds with “brown” yard waste like dead leaves or dry straw and grass clippings to add nitrogen to the soil. Just so long as they’re mixed well with a neutral medium, they won’t significantly alter the pH.
This fertilizer is great for plants like azaleas, roses, and hydrangeas which love a more acidic soil.
Further Reading: 14 Reasons Why You’ll Never Throw Old Coffee Grounds Out Again
Eggshells are approximately 96% calcium. When used as fertilizer, they help to strengthen cellular structure and transport of nutrients in your plants. (Read more about uses for eggshells in the garden.)
(Collect used shells and coffee grounds in a glass jar with a lid or in a resealable plastic bag so they don’t attract insects while they’re waiting to be taken outside.)
If you keep fresh-water fish as pets, don’t discard the water next time you clean the tank. Used water from fish tanks is full of nitrogen and trace nutrients that can improve your garden’s health. Remember, this only applies to fresh-water tanks. Salt water will harm most plants!
6. Epsom Salts
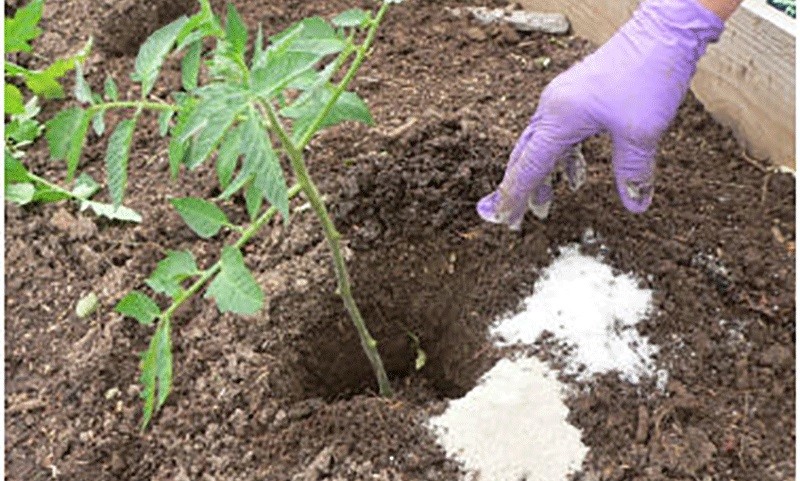
Hydrated magnesium sulfate, aka Epsom salts (available to buy from this page on Amazon) contain two important elements that plants need to maintain optimum health.
Magnesium plays a vital role during photosynthesis and is required by plants for the proper functioning of many enzymatic processes.
Seeds also need magnesium to germinate. Sulfur aids plants with several functions including amino acid production, root growth, and the formation of chlorophyll. This mineral also gives cole crops and Alliums their signature flavors.
Fertilize your onions, broccoli, and cabbages with Epsom salts to get healthier, sweeter-tasting vegetables.
Use Epsom salts on tomatoes, peppers, and roses to grow stronger plants with more blossoms.
As a general use fertilizer, Epsom salts are an inexpensive way to give your whole garden a healthy boost of nutrients. An Epsom salt solution is also a great way to replenish magnesium and sulfur levels in depleted potting soil.
Mix a tablespoon of Epsom salts with one gallon of water and apply to garden plants as a foliar spray once every two weeks. When feeding roses, use one tablespoon of salts per foot of the plant’s height mixed in a gallon of water.
Spray once in the spring when leaves begin to appear and again after your roses bloom.
For vegetables, sprinkle a tablespoon of Epsom salts around each seedling as soon as they are transplanted into the garden. Repeat this feeding following the first bloom and fruiting.
For potted plants, dissolve two tablespoons of salts in one gallon of water and use this solution in place of normal watering once per month.
Further Reading: 10 Ways To Use Epsom Salts In The Garden
7. Vinegar Fertilizer
Plain white vinegar is an inexpensive and effective fertilizer for acid-loving plants like roses, hydrangeas, and berries.
Simply mix a tablespoon of vinegar in one gallon of water. Use this solution in lieu of your regular watering about once every three months.
Remember to test your soil before altering the pH. While many plants thrive in an acidic environment, too low of a pH can be harmful.
8. Composting
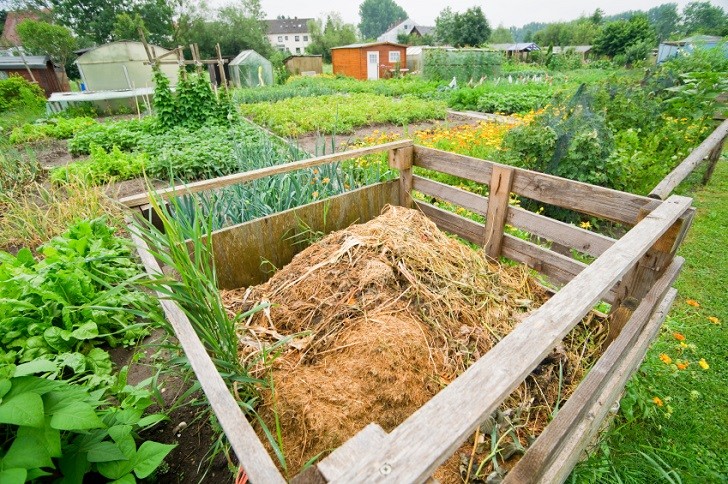
An excellent practice for recycling waste materials and feeding your garden at the same time, composting is becoming more and more popular with organic gardeners. Ingredients that make a successful compost mix include:
Air and water to sustain the bacteria responsible for decomposing organic matter,
Dry “brown” material (carbon) such as dead leaves, straw, and other dried garden and yard waste.
Wet “green” material (nitrogen) like rabbit or chicken manure, grass clippings, and other fresh plant matter. Try to avoid adding weed seeds to the mix. Your compost may not get hot enough to kill them. (Composting to Kill Weed Seeds)
For successful composting, you want a ratio of carbon to nitrogen somewhere around 30:1 and 40:1.
Remember, it is important to give your compost adequate time to “cook” – especially if you use manure – as this will kill any harmful pathogens that may be living in the rotting material. Also, it is important that you don’t let your compost age for too long as rotting organic matter will begin to lose nutrients the longer it sits.
Further Reading: Composting 101: How To Create Compost That Works Like Rocket Fuel For Your Garden
9. Compost Tea

Once you have finished compost available, you can add it straight to the garden or turn it into tea for your plants.
Fill a five-gallon bucket about a third of the way with finished compost. Add water until the bucket is almost full – about an inch or two from the lip. Leave the mixture to steep, stirring frequently (just like cooking stew in a crock pot.)
After three or four days, strain the compost out using a porous fabric like cheesecloth. Return the solid material to the compost pile or feed it to your garden. The liquid should be diluted to about one part “tea” and ten parts fresh water. Apply the solution either directly to the ground or as a foliar spray.
As a side note: working with compost is messy (and stinky!) business. Remember to wear gloves and eye protection. You may also wish to don a breathing mask.
10. Grass Clipping Tea
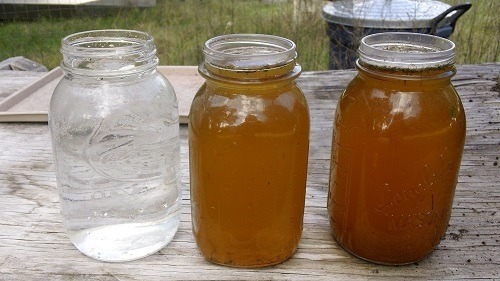
Image Credit: FarmWhisperer.com
Grass clippings also make an excellent nitrogen-rich fertilizer all by themselves.
To make grass “tea” for your garden, fill a five-gallon bucket about two-thirds of the way with fresh clippings. Top off with water to within an inch or two from the lip. Let the mixture steep for about 72 hours, stirring at least once per day. Strain to remove grass clippings then dilute the finished product one part “tea” to one part fresh water.
Apply this solution as a foliar spray or directly to the ground.
For a full tutorial on making liquid grass clipping fertilizer, take a look at FarmWhisperer.com here.
One final note: Make certain that any ingredients you use in your homemade fertilizers do not contain herbicides or other chemicals which might damage your garden. Remember, plants love food that is free of harmful chemicals, just as much as people do!
Pin This To Save For Later